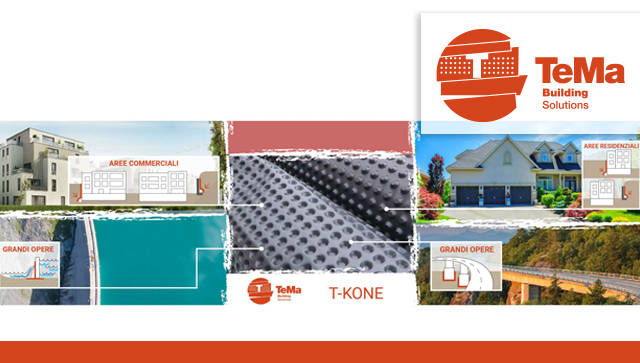
T-Kone is an HDPE studded membrane available in various versions: T-Kone S, T-Kone, T-Kone G Drain, T-Kone G Drain Plus and T-Kone G Drain Grip. T-Kone S and T-Kone are bare, whereas T-Kone G Drain is bonded with a geotextile, T-Kone G Drain Plus with a geotextile and a damp-proofing element, and T-Kone G Drain Grip with two geotextiles.
As you can see, you will need to make the right choice depending on what you want to obtain. Each solution meets different needs, including the mechanical protection of waterproofing and a drainage function. In any case, these applications are quick and easy to lay. Here, we can discover tips for laying T-Kone.
Mechanical protection of waterproofing with T-Kone
Where do I start?
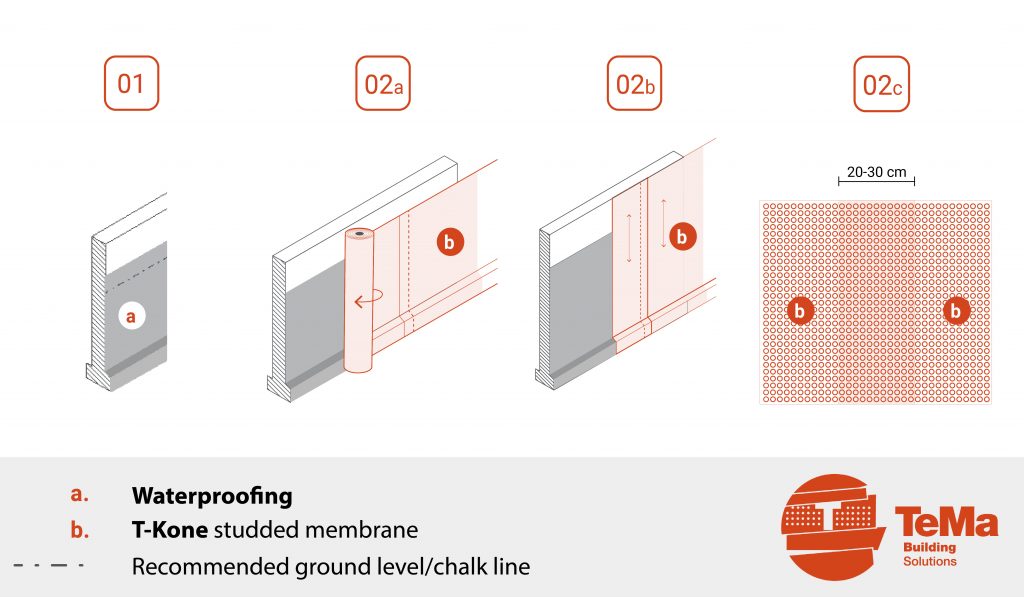
First of all, you need to clean the work surface of any debris and check the wall to which the product is to be applied so that there are no defects that might damage the materials.
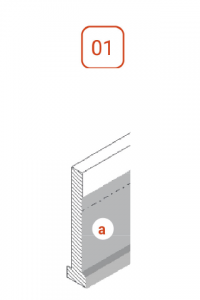
Then you need to use chalk to mark out the area where the drainage system is to be installed (a), making sure that you lay the membrane well beyond this point.
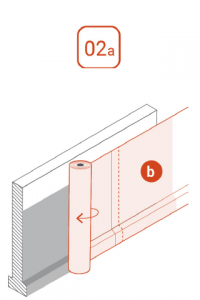
Start unrolling T-Kone (b) preferably from the centre of the wall, with the tab facing upwards, and aligned with the chalk line. The membrane needs to be laid with the studs facing the wall. This will create an 8 mm air gap between the waterproofing and the membrane.
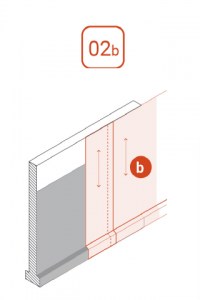
Unroll the panels and apply them horizontally or vertically, fixing them against the wall. If the height of the wall does not allow it, they can be laid vertically and any excess fabric can be cut off. The sections must be placed side by side and overlap by about 20-30 cm on each side (a+b).
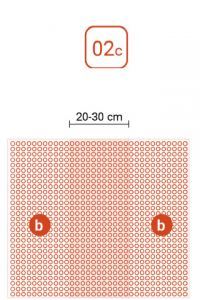
These are just a few basic tips for laying T-Kone. Discover all the applications for TeMa studded membranes directly on the site TeMa.

